 Ward of Elements | ||
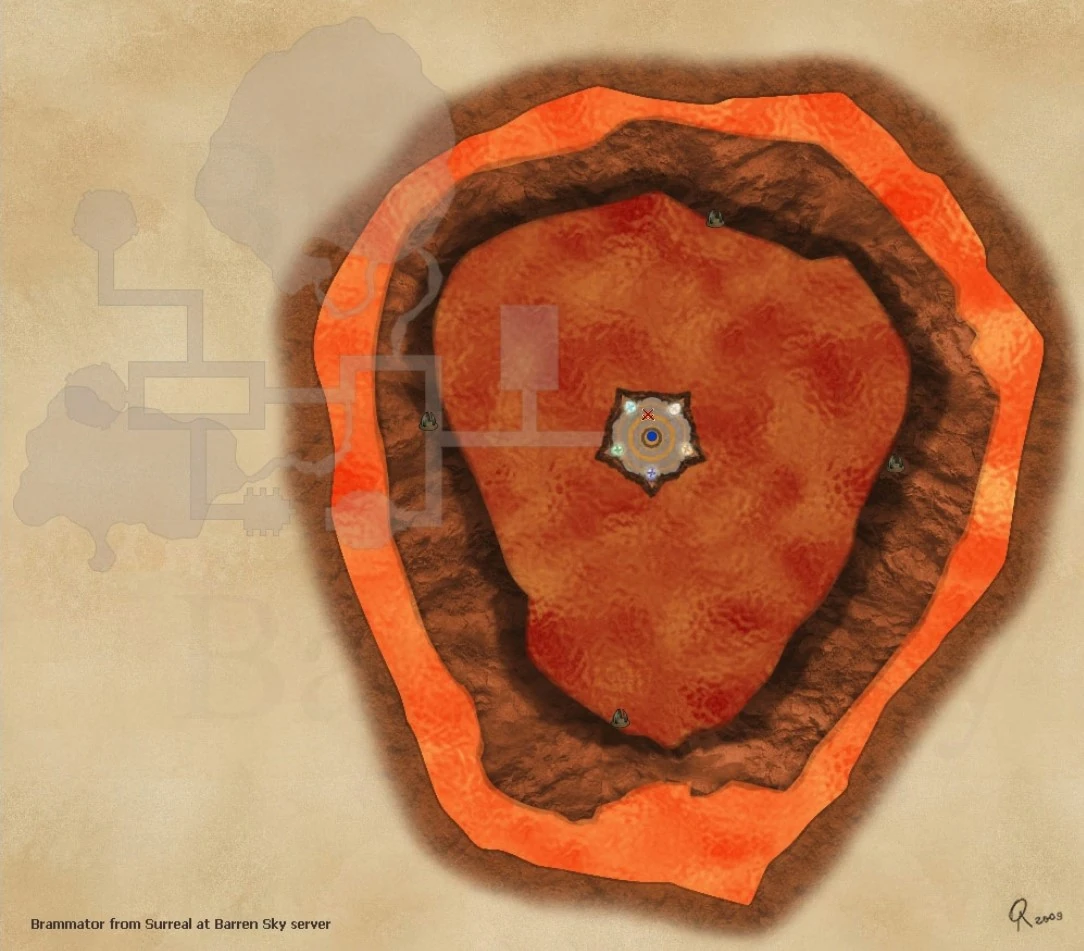
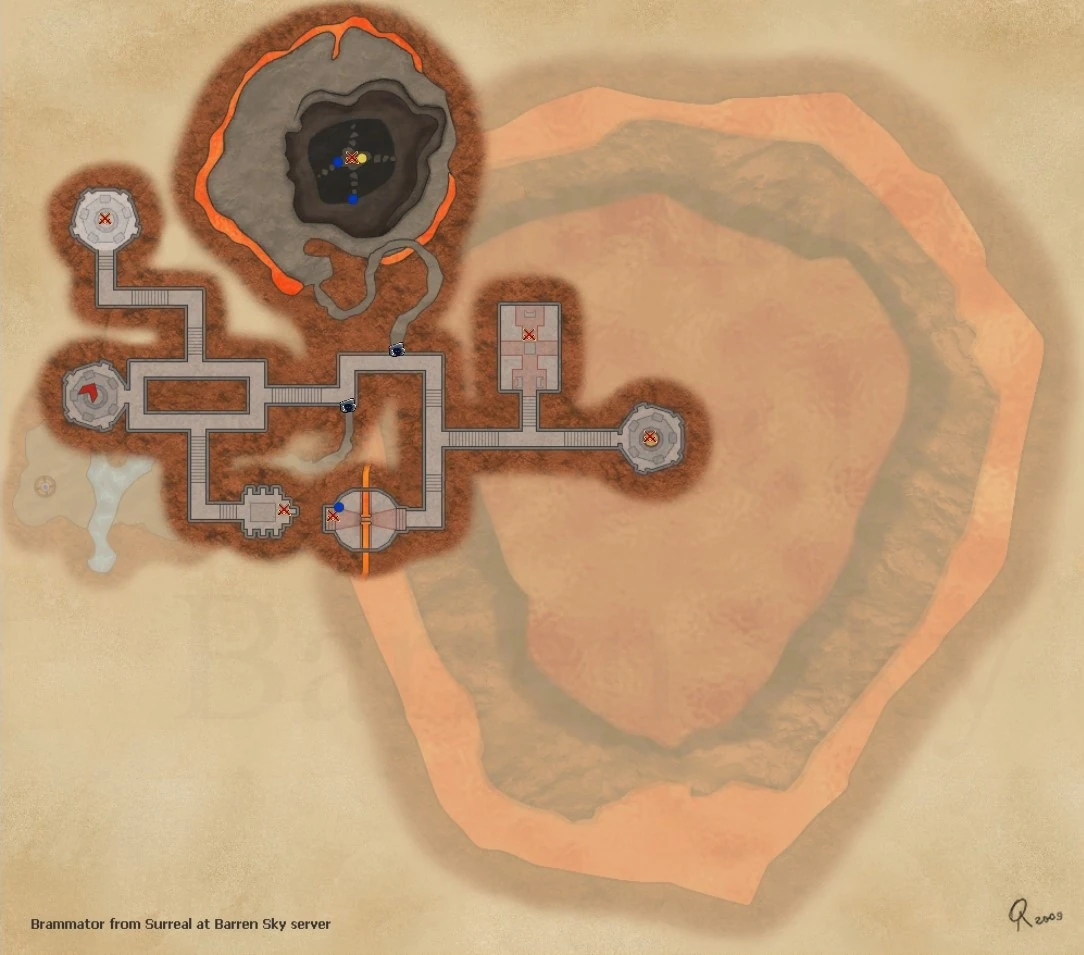 Ward of Elements Map 1 | ||
|
| ||||||||||||||||||
| ||||||||||||||||||
What does this information mean?
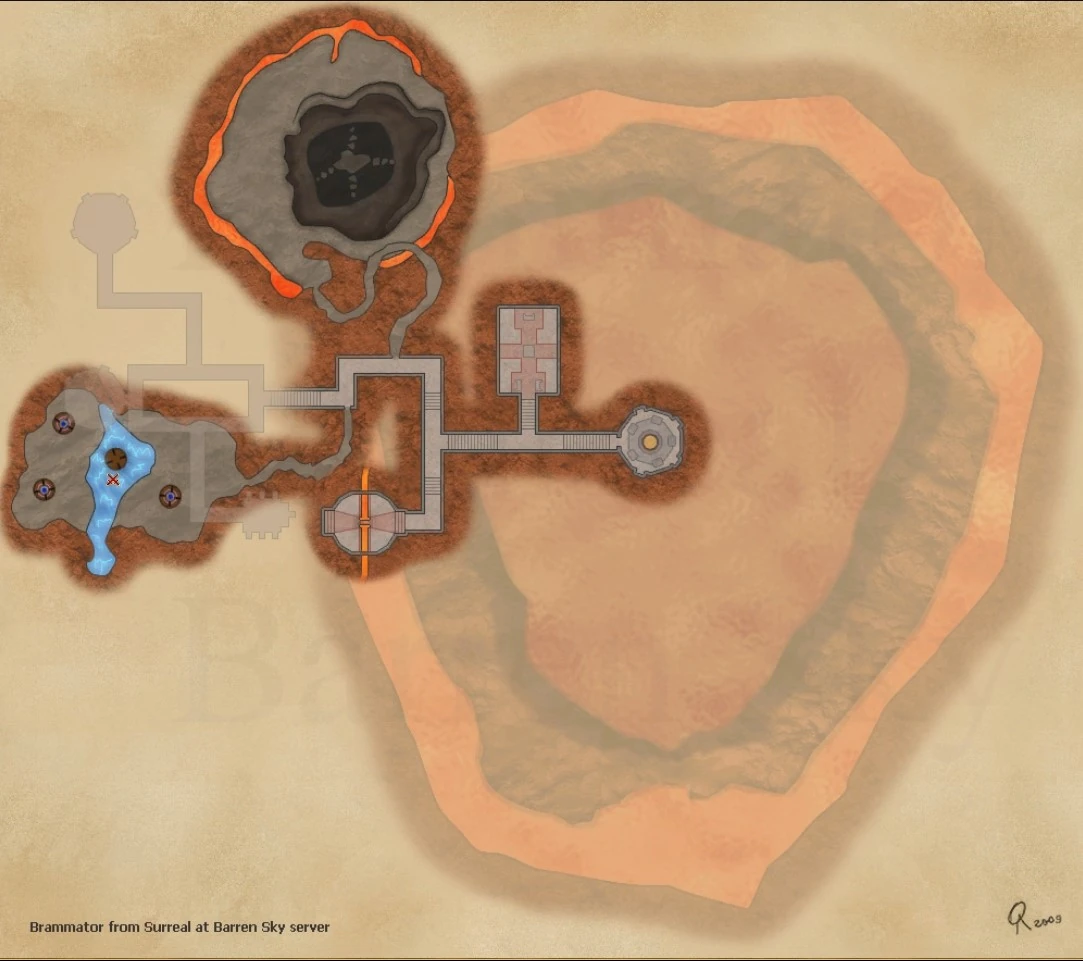
Ward of Elements Map 2
Geography[]
WoE can be found beneath the Hollow Tower and Deep Forge
Maps of zone[]
- Ward of Elements map at TheBrasse.com http://www.thebrasse.com/maps/eq2_tso_najena_ward_of_elements.jpg
Mender in the zone[]

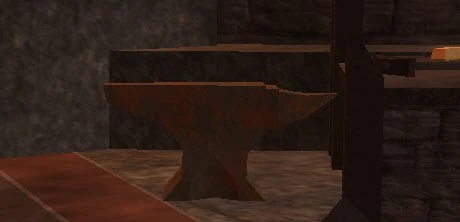
Mender anvil
The mender is an anvil at ( -265, -383, 178 ) in the Ward of Fire and Flame where Dayakara is. The anvil can be used before defeating Dayakara, by moving along the right side of the room (with all trash taken care of) and clicking it without coming too close to Dayakara.
Access[]
Lengthy questline from docks starting with Pyrissa Flamecog, use elevator down from tower entry.THE ENTRANCE IS NOT INSIDE ANOTHER ZONE
Strategies[]
Imperator Ignus (Boot patterns)[]
He is standing at the back of the room, and comes with six ^^^ adds. The tactic for this is to all rush in at once, with a healer on the MT, and everyone else assisting the OT as he burns the adds. When all the adds are dead, When the adds are dead, have the OT target the named and burn him down.
Gelidus Ventus (Glove patterns)[]
When you enter the room, you will notice vents in a wall. These periodically blow gusts of wind that will have you flying around and sliding about. Instead, go left, and there will be two pillars on the wall. Have the MT and melee DPS stack up in the corner closest to the door, and the mage DPS and healers in the next corner. Just pull the tempest and burn him down. Every so often you may get disarmed. If you do, just keep whacking away at it and wait for it to pass.
Khost Alor (Hat patterns)[]
When you enter his area, clear all the mobs, but don't pull Khost yet. Now, the water in the room is electrified and will do heavy damage to everyone in it, so hug the wall and jump across the river. Go to the furthers tower and stack up, so the tank is next to the tower. Buff up, put every survivability buff you can on the tank, he will need it.
Khost, when pulled, will make the towers flux with energy. You need to pull him close to one to damage him, but the tower will also add damage to his attacks. Debuff him as much as possible as you attack and burn him down
Dig (Chest patterns)[]
Digg at the bottom of a little pit, on an island above another bottomless pit. The only way to reach him by use of bridges you can control by using the little gold bars. He hits pretty hard, and has emotes that add damage to his attack.
Fight Dig on the bridge leading to the "snake" spawn point. The raid tank should pull Digg so he faces towards the pit walls, away from the raid because of his nasty frontal AoE. Everyone else in raid should stand right on his tail. When the fight begins, every so often, Digg will call out "Badger", "Mushroom" or "Snake". Ignore mushroom and badger, but if he calls snake, have the snake runner move the snake that appears right at Diggs feet. Every so often, Digg will also create a sphere around himself. The raid party must be inside the sphere when it forms and explodes, or they will be knock backed and most likely die.
Daykara (Leg patterns)[]
When Daykara is aggroed he will spawn ^^^ imps every so often. Too many of these and the raid will wipe because they will kill someone important. Daykara needs to be burnt quickly, and that is about all there is too them. After killing Daykara, an anvil nearby will repair your armor for a mender fee.
Benach Aglebar (Gloves or Feet patterns)[]
Note: this is bonus fight, not required to finish the zone (some times causes issues if you are low on AE dps, or takes a long time to finish the ring event)
When you enter the room, there is a line on the floor between the room and the stairs. Have your raid stack up, just in front of the line as the tank pulls the books. There are 2 groups of these, a mix of ^^, ^^^ and X2 mobs. After killing the two groups of these, another two groups will spawn. If you have all stack up in front of the line for the adds, they won't agro right away and give you time to heal up, rez and buff up, before pulling the next set. If anyone steps onto the line or up the stairs, the ring event will break and reset.
After 3 waves of books, Benach Aglebar will spawn and a second or two after spawning will attack the raid. He has a knockback, so have the whole raid rush into the middle of room and burn him down. If you step out the room, the books will reset.
Captain Grush (Forearm drops)[]
Grush stands in the middle of a room, with two x2 adds. His trick is that he can shift his resists. The orbs you might have seen drop in WoE are for this fight, but most people don't use them, because they require equipping to use. The trick is to keep power up, and slow burn. Grush also has an AoE on a 45 second timer, and less damage is taken the further away you are, so have all heals and ranged DPS at max range, then have melee DPS jousting in and out. 35 seconds in close for combat arts, and 10 seconds ranging.

Ward of Elements Map 3
Aiden (Cloaks or Shoulder patterns)[]
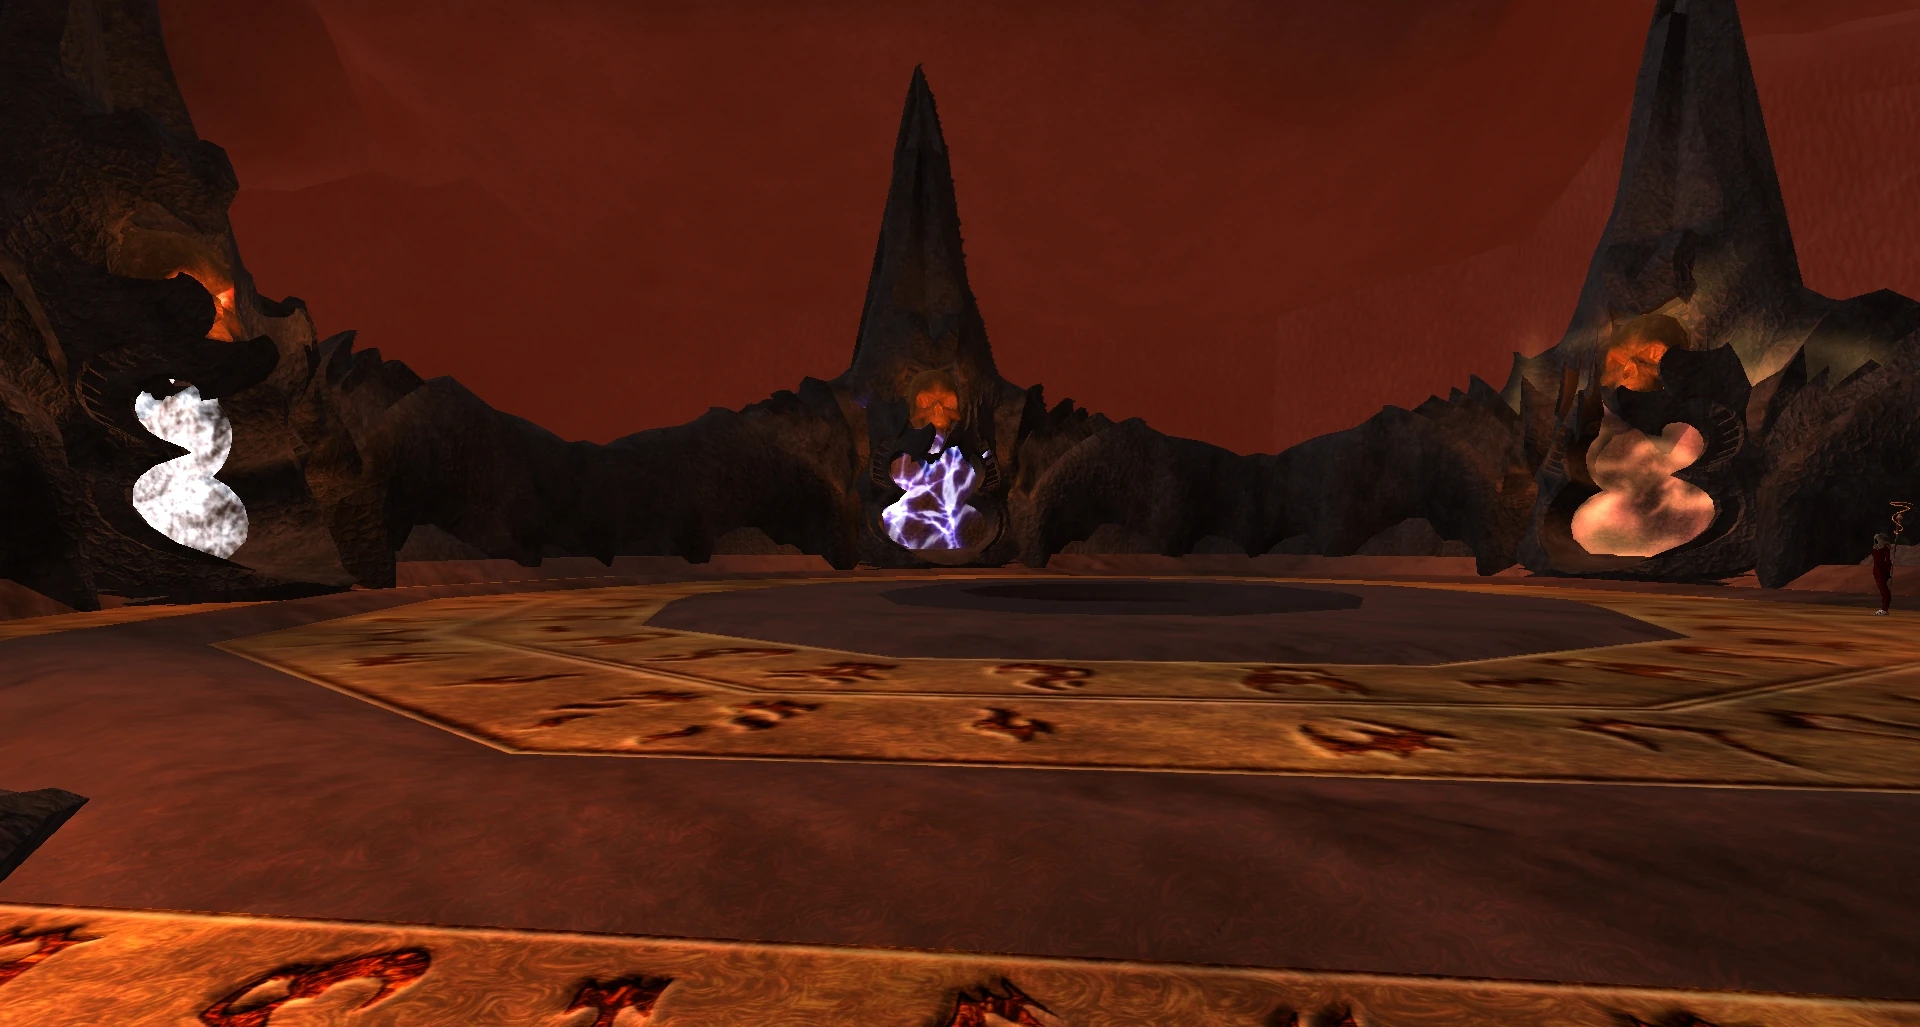
Aiden will sometimes port two people to the ring of rock. They will harvest 2-3 rocks and jump into the lava whirlwinds to fly back into the arena. They then must place the rocks in front of the five portals. When Aiden flies up, he will activate the portals and if rocks are not in front of all the portals, adds will spawn.
The tank should tank Aiden facing away from the raid, with the tanks back to the wall. The raid fights Aiden from the side, to avoid his tail AoE, and burn slow. Aiden will fly up every so often, and the portals will activate, but if the rock runners are doing their job, no more than two groups of adds will spawn. If adds spawn, have the tank pick them all up and focus on Aiden while an Off tank burns down the adds.