| All information in this article is subject to change! This article and its subsequent articles refer to the Kunark Ascending Expansion that is currently in BETA. |
|---|
| Very little accurate information is openly known about BETA game details and those who do know may be bound by an NDA. The information here should be considered tentative at best and may change before going live. Thank you! --The EQ2i Admins |
| When the information moves to the live servers, and after checking this page for accuracy, please remove the {{Beta}} tag at the top of the article!You can also see Category:Beta for a list of more articles in need of attention! |
|
| Journal Category | Signature | ||||
| Introduced | Kunark Ascending | ||||
| Journal Level | 100 (Tier 11) | ||||
| Journal Difficulty | Solo | ||||
| Starting Zone | see Starting the Quest below | ||||
| How to Start | Mail from Queen Alwenielle | ||||
| |||||
What does this information mean?
Starting the Quest
- Read the Mail from Queen Alwenielle
- Queen Alwenielle would like me to assist her with the last Chaos Stone and meet her at Tylwyth's Hut in Zou'Lidelas.
Steps
- Speak with Queen Amree or Queen Cristanos depending on your alignment
- Speak with Queen Amree ( 422, 137, 263 ) in Kelethin in Fae Royal Court if good.
- Speak with Queen Cristanos in Neriak, City of Hate at ( -578, 32, -193 ) if evil.
- Travel to Thalumbra, the Ever Deep by clicking the tinkered portal-gate ( 299, 128, 311 ) if in Kelethin or ( 28, 4, 318 ) if in Neriak, City of Hate.
- Speak with Queen Alwenielle ( -333, 240, 384 ) in Thalumbra, the Ever Deep
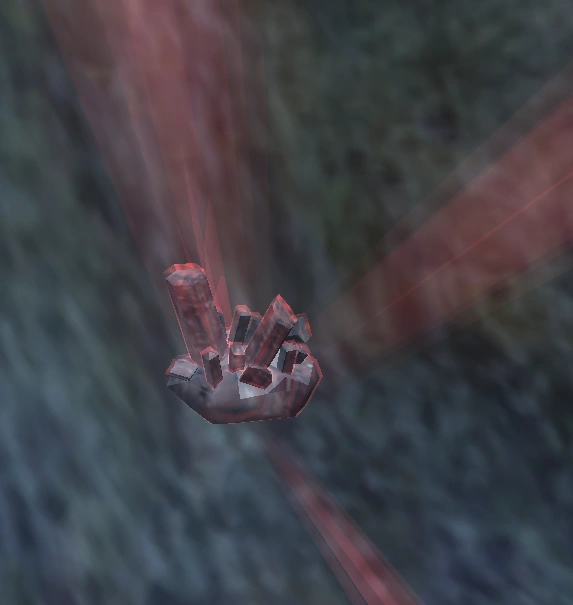
Blushing Umbrite
- Gather 8 Blushing Umbrite around Penumbra Expansion ( 453, 40, -770 ) or Aberrant Isle ( 220, 34, -869 ) *Note: Aberrant Isle is full of ^^^ mobs. Blushing umbrite is a small white geode with a red hue radiating off it. Not trackable.
- Return to Queen Alwenielle ( -333, 240, 384 )
- Enter Arcanna'se Spire:Revealed ( -60, 16, 166 ) in Abyssal Chasm.
- Collect an Arcane Gate Seal spell somewhere behind the second door to the left after zone in. The location is random but not gated behind aggro mobs.
- Click a scribe's Arcane Podium at ( 145, 3, 15 ) twice to activate the spell and open the doors.
- Return back to the center room at ( 0, 0, 46 ) then through the first door to the right after the zone in door.
- Find the crystal for the damaged portal anchor at a random location in the room at ( -48, 4, 20 ) . This is a blue shard somewhere on the floor.
- Retrieve it and repair the damaged portal anchor at ( 55, 1, 25 ) through the first door to the left of the zone-in door.
- Click the teleporter behind you at ( 53, 1, 21 ) .
- Speak to Queen Alwenielle. Follow her to the crystal.
- Speak with Queen Alwenielle. Receive an Imitation Chaos Stone.
- Switch the Chaos Stone for the imitation. Click the Zou Crystalline at ( -470, 30, -53 ) .
- Listen to the dialogue between Queen Alwenielle, Tserrina Syl'Tor and Lanys T'vyl.
- Queen Alwenielle must get you and the crystal to safety! You will be ported away by Queen Alwenielle.
- Automatic QST update upon teleport to The Frillic Tide; you also receive the Chaos Stone. On arrival upon boat, all armor and weapons are disarmed.
- Note: If you crash during this part, you land outside the portal in Thalumbra. Talk to the Queen inside the Arcanna'se Spire: Revealed again to get ported.
'Spoiler warning' if you like puzzles don't read on !
- *Where am I? What happened?
- Hail the Iksar Slave.
- Recover my equipment and escape this slave ship.
- Listen at the left cell door for Captain Zythox's speech. When he walks away, a hungry bilge rat enters cell area and goes to Iksar Slave.
- Hail the iksar slave.
- Hail the pet rat Killten.
- Feed the rat. Tell him to retrieve his master's keys in exchange for food.
- Wait a moment. Killten will leave and return. He drops keys on the ground for food.
- Retrieve keys and unlock right side cell door. Left side does not unlock.
- Note: Totems of escape and invisibility do not work while on the ship.
- Note: Leaving the cell door open when the wandering slaver passes, without you inside the cells, will automatically trigger a loose-slave alarm. Closing the door after you leave the cell seems to avoid this.
- Note: Stepping on the wall edge of the ship at any time will automatically cause the slavers to notice you.
- Wait for the wandering slaver to pass the cells, and sneak out under the right side stairs to the edge of the ship where the crates are.
- Note: When outside the cells, and waiting for the wandering slaver to pass, the furthest corners underneath the stairs against the walls of the ship seem to be safe from his vision, and a good spot to wait for him to wander to the other side.
- There is a pick there. Take it.
- Make sure the wandering slaver is away and climb part-way up the stairs.
- Note: At the top is a brig guard, who can see from quite a distance. Being on the second step of the upper stairs seems to work fine even though it is techincally out of range.
- Look up at the post nearest the top of the steps. There is a rope coiled on there. Take it.
- Go into your inventory and inspect the pick to combine it with the rope to form a grappling hook.
- Watch for the wandering slaver's path, go back down the stairs and sneak to the left side of the ship
- Go partially up those stairs. You're looking to jump the rail (4th step down from the top should be high enough to jump onto the rail and be outside the brig's line of sight) and go to the back side of the bowspite.
- There is a shiny spot there to throw the grappling hook.
- Throw the hook, climb the rope, and click to take the grapple hook with you.
- Crouch to avoid being seen as you walk across the bowspite to the next section of the ship.
- Again, avoid the wandering slaver.
- Wait for him to walk left, then jump the rail and go to the right to the edge of the ship. Drop down just inside the wall between the stairs and the edge of the ship.
- "I'll Never Get Past All Those Slavers. I Need to Create a Distraction"
- Look left and see a crate; sneak to it and climb inside.
- Scooch across the doorway to your left, and look inside. Listen as the Captain speaks about where to sell you.
- Note: Wait for him to get done speaking. Going in early seems to trigger a loose slave notice.
- Hug the right side wall and sneak past the Captain and his mate.
- Go around the wall and hang a sharp left just before you get to the doorway.
- There will be barrels of rum and lanterns on the wall.
- Cancel the buff in your spell bar to leave the crate (It looks like an eye).
- Spill the rum, and use the lantern on the wall to light it on fire.
- Climb back into the crate quickly and go back the way you came. All the slavers should be at the fire.
- The box will fall apart half-way across the deck. Go to the doorway of the next section of the ship.
- "Get Your Armor Back"
- Sneak up behind the slaver and right-click him to knock him out. Click him again to take your head gear.
- Note: If the hand icon disappears, run quickly away from him and wait. He will eventually turn around and go back to what he's doing.
- Run back to the previous deck, go up the stairs, and look at the right-side rigging for a shiny spot to climb.
- Sneak up on the slaver and right-click to kick him off the crow's nest.
- Look up on the mast for a shiny spot to climb up and walk over the rope across the masts. Twice there will be an emote "The winds pick up." Grab the rope to hold on and wait for you to say "That was close".
- Note: It is possible to drop off the rope; if you do, the wind will blast you off into the ocean and you will die. When you revive, you will be back in the brig again.
- Kick the guard off the other side the same way as before.
- Look up onto the mast for a shiny spot to zip line down to the next deck.
- Zip line again to the deck below that.
- The landing will knock out a cannoneer. Pick up the cannonball.
- Look down into the hole, and wait for the Captain to pass below, #Drop the cannonball on him. Jump down and take your gear off the Captain.
- Look up to find a shiny spot to grapple and climb back up to the cannon.
- Go to the front of the cannon, load the barrel, and click to light the fuse. Wheeeeeeee!!!!
- Land before you lose consciousness.
Rewards
- At least 1p 35g 35,200 status