  The Nest of the Great Egg | ||
|
| |||||||||||||||||||||
| |||||||||||||||||||||
What does this information mean?
Entrance on foot[]
Accessible from Whisperwind Isle ( -674, -20, -501 ) . To reach the entrance, go up the ramp from ( -531, -73, -412 ) , then climb up the wall next to Turk Whooyip ( -584, -47, -450 ) and another on top ( -584, -19, -460 ) . The entrance is in the building on that platform. ( -674, -20, -501 )
Quick Guide[]
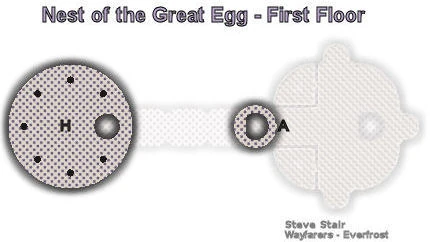
Zone-In (A)[]
Nothing here but a climb wall to take you down.
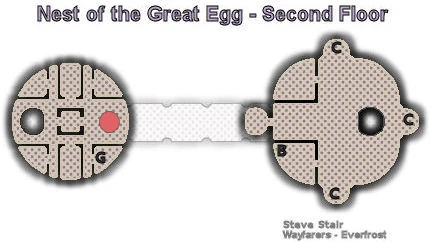
Kit Oo'Loh (B)[]
Kit Oo'Loh gives a quest to kill Chamberlain X'Haviz.
Aggressor Khranz (C)[]
Several Vultak aggressors are fighting it out with the beseiged Hooluks. Kill all of the Vultaks before you engage Aggressor Khranz, or the Vultaks will assist him. Climb down the hole on the east side of the room to progress.
Switch/Nutty (D)[]
Switch/Nutty both drop an item used to activate the lift later on, but no other loot yet seen. Clear the area, kill the names and move on west.

Taskmaster Rezhirz (E)[]
This room is a large hallway with both roaming and stationary encounters. Clear everything and move towards Taskmaster Rezhirz. Even though both of the doorways SW/NW of Taskmaster Rezhirz have roaming mobs, you will have no problem pulling Taskmaster Rezhirz without aggroing them.
Councilor Zhardiz (F)[]
Crowded with mobs, this room might look confusing. Be patient & pull out. Be aware of Councilor Zhardiz who is located at the east wall of the room. Once you have enough space to kill Councilor Zhardiz I suggest you pull him out. He has a lot of HP and a nasty AE, so consider keeping non-melee outside a 20 meter area.
Climb up the glass wall on its east side to continue. I advice that you stay on the wall and get ready.
Kettleleader Ghrizhaw (G)[]
Once up the glass wall, you are likely to be attacked by two mobs. Have your tank climb up first and then the rest.
The named of this area is Kettleleader Ghrizhaw, who is much harder than earlier nameds. There are several roamers and stationary mobs in this area, most of which have a large aggro radius, even through walls/doorways. Clear the area and kill Kettleleader Ghrizhaw.
In the east room you will find a lift that is activable only after finding a strange crystal egg on one of the mobs (Nutty or Switch). Once this lift has been used, it can only be sent back down from above so be sure to send it back once you reach the top.
Chamberlain X'Haviz (H)[]
- The Gorgs: Once the lift arrives at the top, you will have around 5-10 sec. until you will be attacked by a group of a rampaging gorg. Also note: The lift goes back down now, in case of wipe.
- Mystics: The birds eating the egg are 4 a Vultak mystic. They all appear to attack at once. WARNING: You will instantly be attacked by the next encounter. Consider leaving the last a Vultak mystic alive until you are ready.
- Gilded Guardians: The next encounter is a group of 6 Level 66 a gilded guardian .
- Chamberlain X'Haviz: After you kill the 6 a gilded guardian, Chamberlain X'Haviz will become aggro, but he will not rush after the group so stay back near the elevator and buff up. He is level 67 ^^^ Heroic and does slashing damage around 3k per hit. Also has a 1.5kish AE DoT, divine based if I remember right. We found it hard to stay out of the AE and still be in casting range, practice required. He can drop Gauntlets of the Chamberlain.
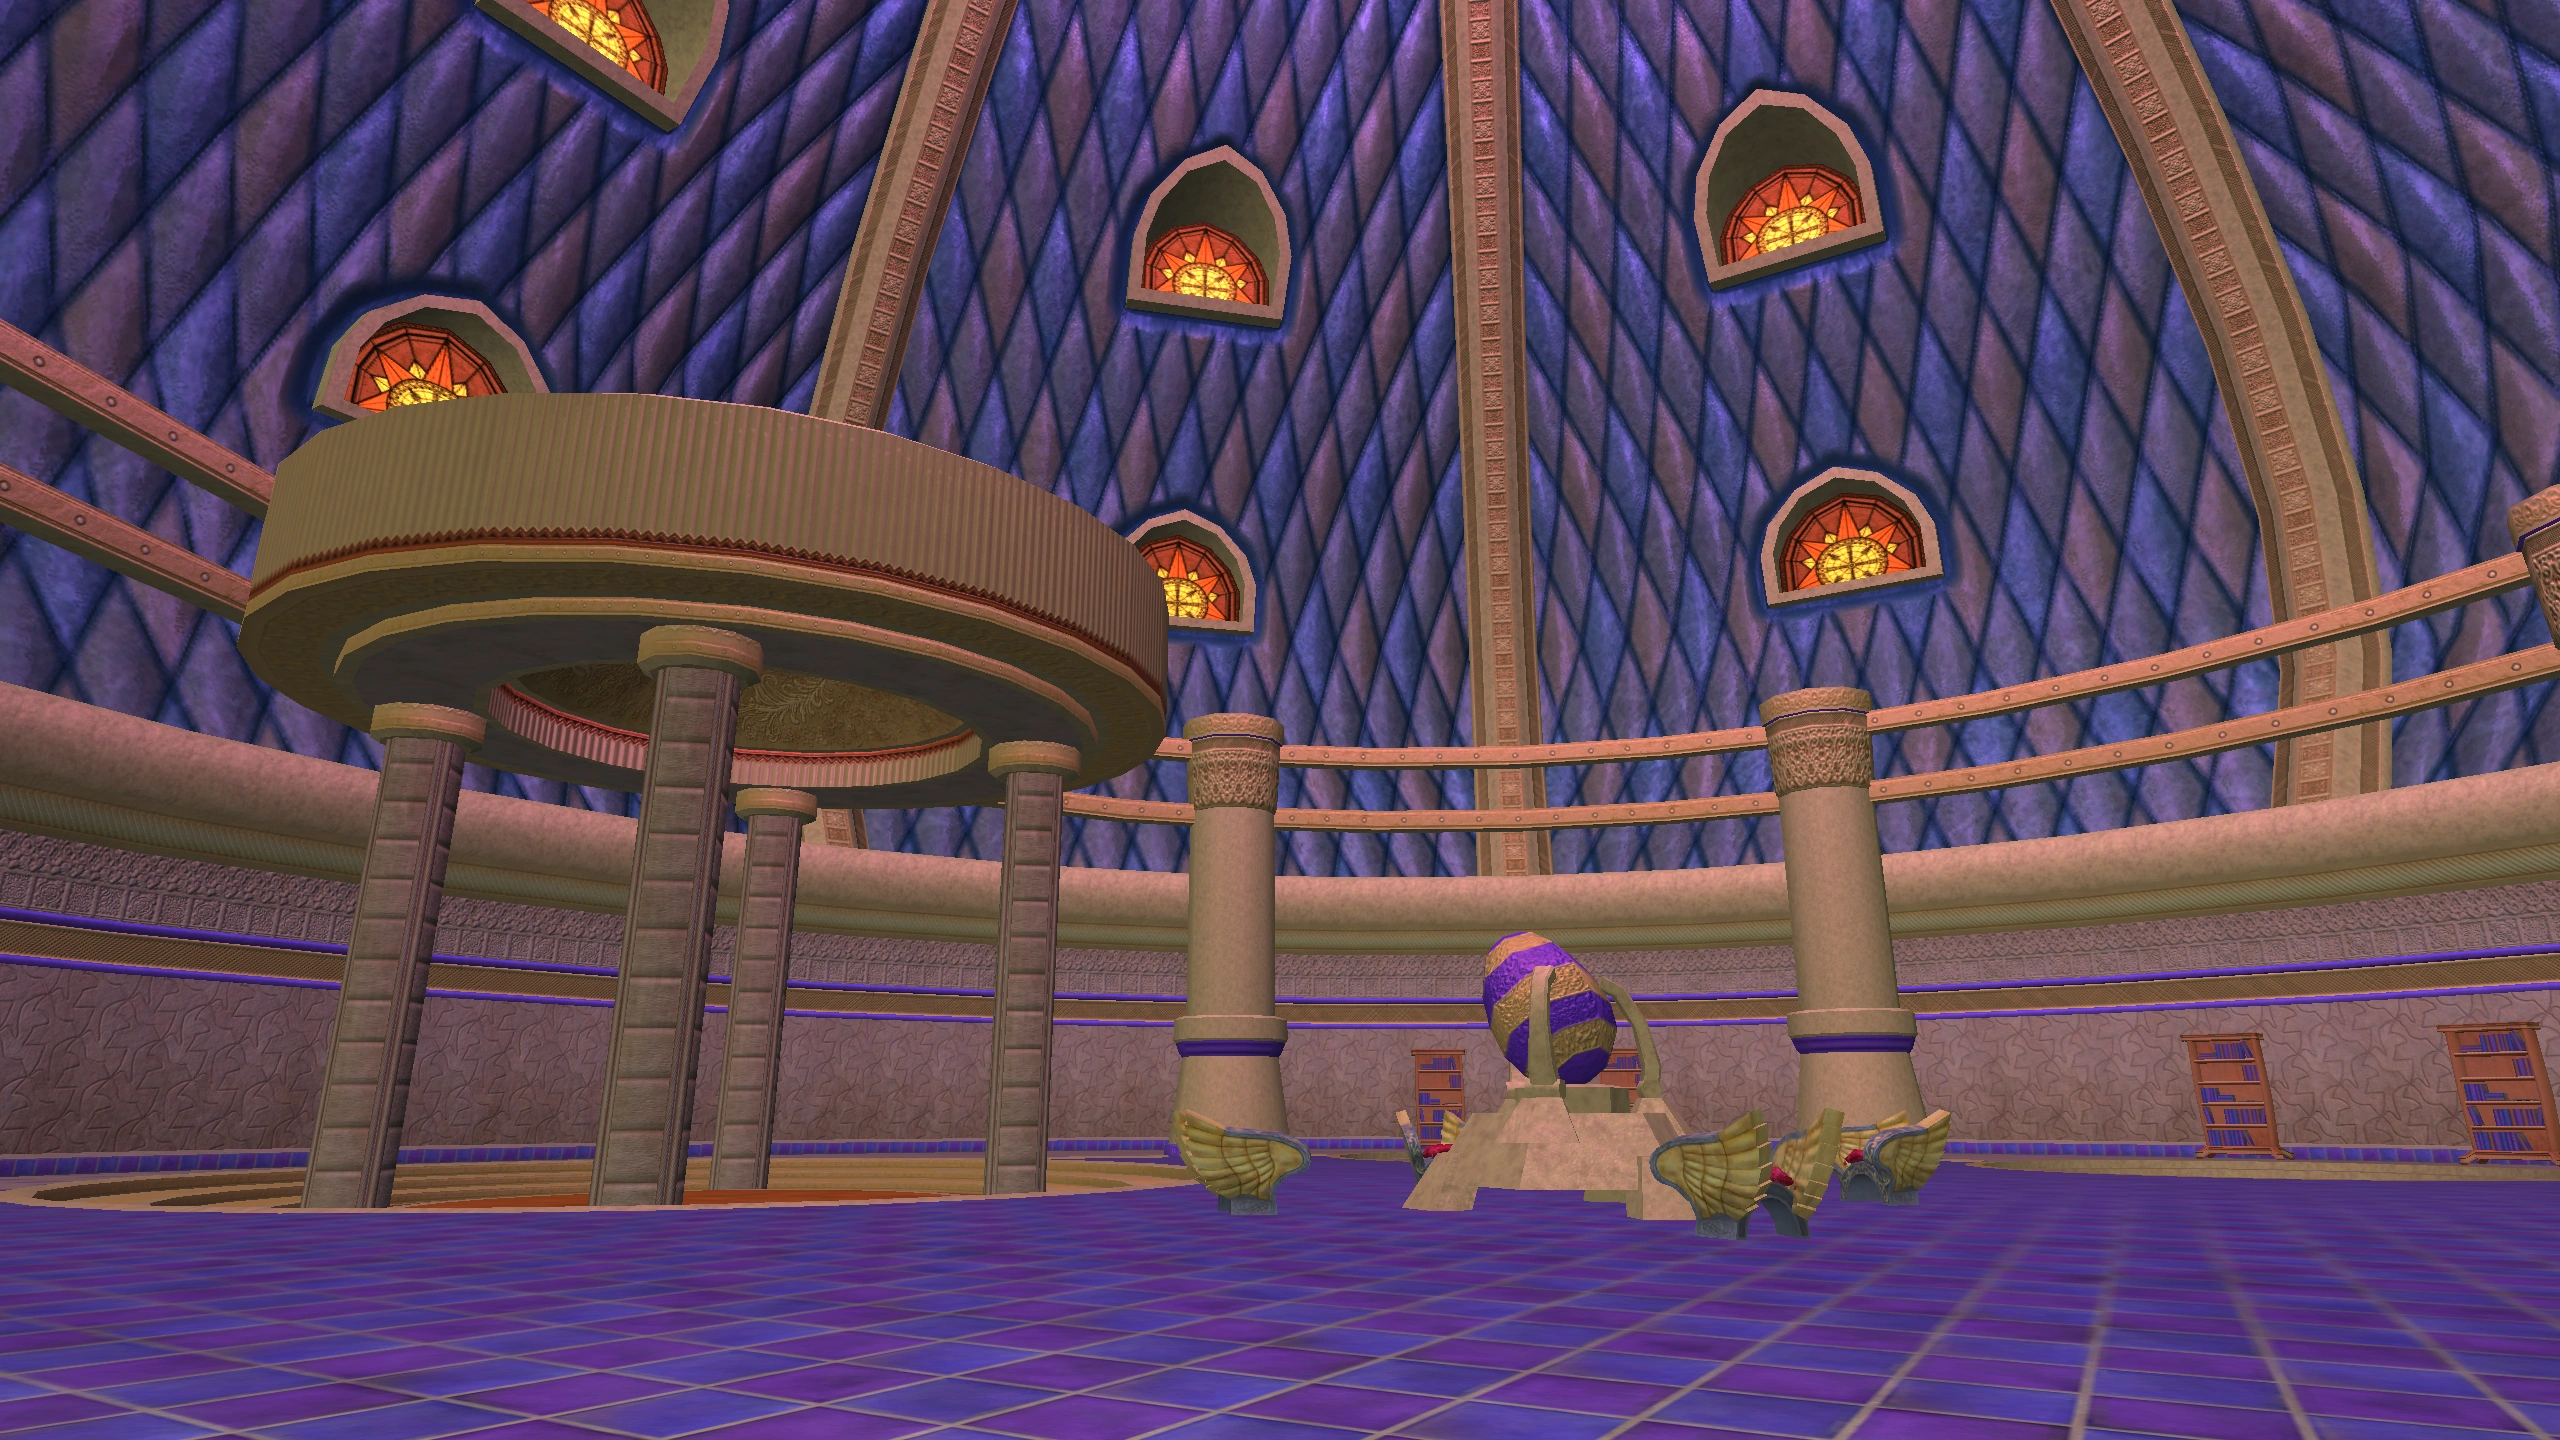
Gallery[]
")
")
")