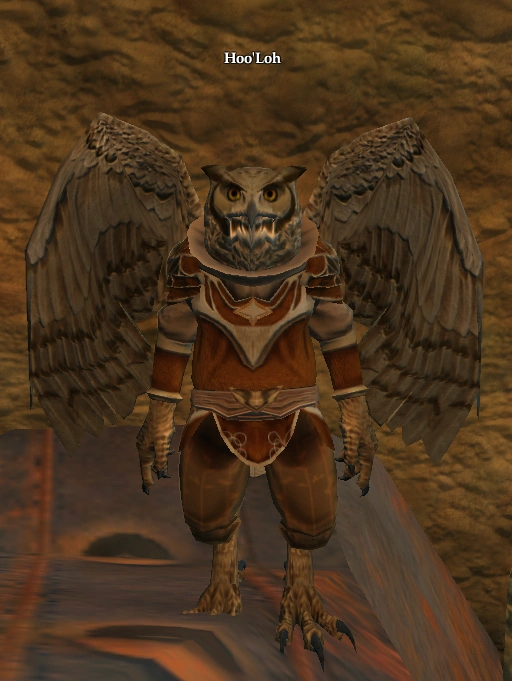
 Hoo'Loh | ||
|
| Journal Category | Signature | ||||
| Introduced | Kingdom of Sky | ||||
| Journal Level | 70 (Tier 8) | ||||
| Journal Difficulty | Heroic | ||||
| Starting Zone | The Barren Sky more | ||||
| How to Start | Speak to Hoo'Loh ( 22, 7, -439 ) | ||||
| |||||
NOTE:  A discussion page exists which may contain more information A discussion page exists which may contain more information
| |||||
What does this information mean?
Notes[]
- You must be adventure level 62 to receive this quest.
- Many players refer to this quest as the "Class Hat" or "Class Helm" quest based on the rewards.
- Consider doing the other Kingdom of Sky Heritage Quests and Signature Quests (A Thorn of Old, Draco Mortuus vos Liberatio, and A Mark of Awakening) concurrently with this quest since many of the steps take you to the same dungeons.
- If you have a leaping mount, getting to Hoo'Loh is a simple matter of jumping up on the chain where he's standing. You can also easily climb on to the chain at the Isle of Discord, walk along the chain to Strifewind Isle and then make a short jump down.
Steps[]
- Kill 15 vultaks. The ones around Hoo'Loh can be easily soloed.
- Return to Hoo'Loh. ( 22, 7, -439 )
- Kill the Vultak scroll-bearer, wandering around The Strifewing Camp ( 9, 56, -535 ) . Fly directly above him and clear for the update.
- To get to him without a flier: travel north on the island and past the Strifewind Pond near the scavengers. Keeping the pond on your right, keep traveling north and looking at the wall on your right for a small entrance ( 129, -23, -593 ) . Go in there and up a ramp and keep looking at the right wall for a climbable area. Climb up two levels of climbing wall. There are 2 spots at ( 46, -19, -604 ) and ( 35, 45, -607 ) . Within the general area here, you will find the scroll-bearer wandering.
- You will likely need a group to complete this section. The scroll-bearer is an undercon mob with a LARGE aggro range (you only need to go up to the first rock to have him come at you) who is tricky to find with several see-invis mobs enroute.
- Return to Hoo'Loh.
- Go to your city's mage academy and search for 'an ancient scroll'. If multiple people in your group need it, you shouldn't have to wait long for it to respawn (Approx 60 seconds).
-
- The City of Freeport: Second Level of Academy of Arcane Science ( 6, 8, -115 ) .
- Qeynos Capitol District: On the ground next to Indis Surion (via the yellow teleporter) in the Concordium Tower. ( 703, 82, 132 )
- Return to Hoo'Loh.
- Enter The Nest of the Great Egg in The Barren Sky. ( -675, -21, -498 )
- Speak with Hoo'Loh, who will be in one of the two rooms to the right or left of the first chamber you enter.
- While in this area, you can pick up the quest Kicking the Bird out of the Nest, which requires the death of Chamberlain X'Haviz, who must be killed in order for Hoo'Loh to commune with the Great Egg. May as well get 2 birds with one stone!
- Remember to kill Switch or Nutty for a strange crystal egg, which is needed to activate the elevator leading the Great Egg.
- Escort Hoo'Loh to the Great Egg:
- Safe way: Don't speak to Hoo'Loh (leave him where you find him) and clear the zone. This can be done most expeditiously by getting to and killing Chamberlain X'Haviz, since he consumes everything you haven't already killed in the zone when he becomes attackable). Then make sure the elevator has gone down (or send it down if it hasn't gone by itself), and go back for Hoo'Loh.
- Risky way: Hail Hoo'Loh right away upon entering the zone and have him follow you around the zone like a pet while you kill the mobs on your way to the Great Egg. He can and will attract aggro, so be sure to be in a position to defend him, or have him follow your caster and stay out of the way.
- If Hoo'Loh is killed he may respawn back in the room where you first found him. If so, right-click on him to get him to follow you again. If he isn't there, you will have to wait until you can reset the zone.
- Hoo'Loh will follow the first group member to hail him but everyone in the group who has this quest will get the update as long as they click on the egg to "tell Hoo'Loh to commune with the the egg" in the final room.
- Return to Hoo'Loh in the Barren Sky. ( 22, 7, -439 )
- Gather various components from the following dungeons:
- Sanctum of the Scaleborn: A vial of flawless Scaleborn blood from a Scaleborn warrior
- Palace of the Awakened: A vial of flawless Bloodscale blood from a Bloodscale dreadknight
- The Halls of Fate: A vial of flawless Doomwing blood from a Doomwing Skarize centurion.
- The Halls of Fate: A perfect ooze specimen from a formless abomination spawn.
- The Halls of Fate: The blood of Sothis.
- Return to Hoo'Loh in the Barren Sky.
- Return to entrance of the Nest of the Great Egg and enter the unique instance, The Egg's Blessing. ( -675, -21, -498 )
- The objective of this instance is to sneak past all of the Vultak guards without alerting them. Fortunately, they have a very small aggro radius, assisted further by the use of Hoo'Loh's Strifewing disguise, which turns all the mobs grey however does not make them entirely immune to aggro. If at any point you move too close to a vultak, a message will flash on the screen informing you that you have failed and need to return to Hoo'Loh to pick up a new disguise.
- Jump down to ( 51, 86, 0 ) , and apply the disguise. Proceed through the instance as you would in the parent zone, The Nest of the Great Egg.
- Go to the climbable wall at ( 190, 57, 0 ) .
- When you reach the top, you will notice that the two passages leading to the elevator are being patrolled by vultaks. To sneak past, wait for the vultak on the left-hand passage to move forward just enough so you can sneak into the room at ( 169, 82, -31 ) .
- Wait until the guard moves safely beyond the door, and then move to the elevator at ( 145, 92, 0 ) , and ride it up.
- Click on the egg to commune with it. It can be interacted with from a safe distance.
- Return to Hoo'Loh for your reward.
Rewards[]
Status Points:
- 75,843 status @ level 68
- 74,959 status @ level 69
- 74,100 status @ level 70
- 67,513 status @ level 75
- 58,952 status @ level 83
- 56,143 status @ level 89
- 53,690 status @ level 95
- 51,870 status @ level 100
And:
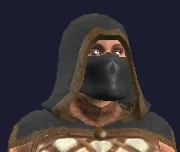
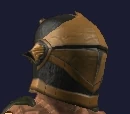
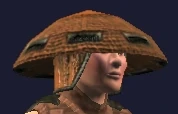
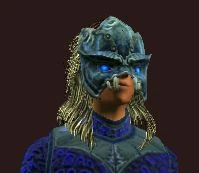
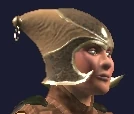
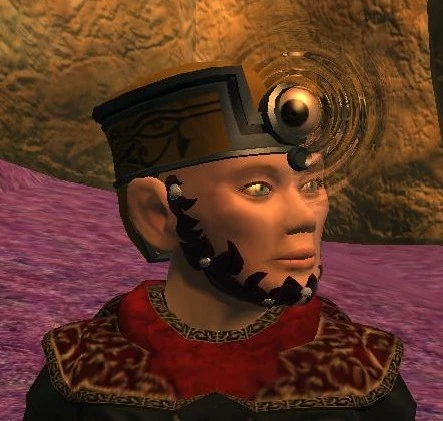
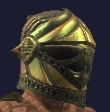
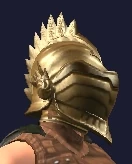
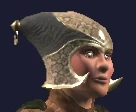
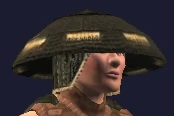
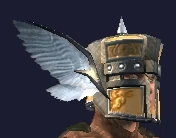
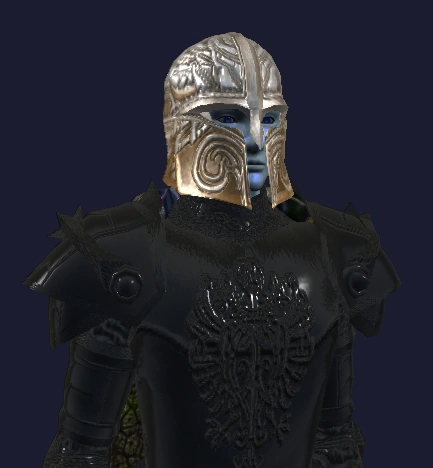
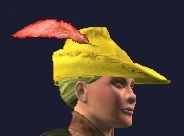
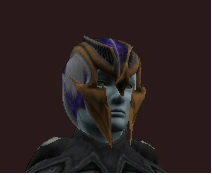
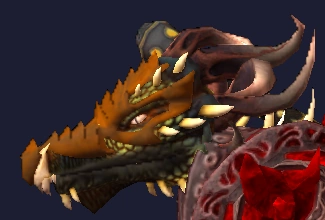
A class-specific headpiece.


^Hat could be Summon a pet Hooluk
Questioning Helm Graphic
Note:
- Many of the hats rewarded for completing this quest have alternate appearances available. However, this does not mean the appearance will be better! Speak to Hoo'Loh again and he will offer to change it for you, although he does NOT give you a chance to view the "customized" hat (many alternates appear via the links above). However, Sarnak do not get an appearance to either the regular helm or the customized helm.
- Helmets with the same appearance but different colors can be obtained from Help from the Air(Part 11 of Cloud Mount Timeline ).