|
| Journal Category | Sundered Splitpaw | ||||
| Introduced | Splitpaw Saga | ||||
| Journal Level | Scales with player level | ||||
| Journal Difficulty | Solo | ||||
| Starting Zone | Sundered Splitpaw: Splitpaw Den more | ||||
| How to Start | Listen to Sarchel the Storyteller's telling of The Legend of Harclave: ( -95, -73, -174 ) | ||||
| |||||
NOTE:  A discussion page exists which may contain more information A discussion page exists which may contain more information
| |||||
What does this information mean?
Notes[]
- This is an unlimited repeatable quest.
- You must have learned the Gnollish language to understand Sarchel.
- This quest scales to player level from 20 to 50.
- This quest is one of several that you can do to earn the trust of the Splitpaw Gnolls and advance A Darkened Shard.
- If you die in the instance you will revive back at the entrance. However, if you didn't place a plank across the first gap, and don't have fast enough run speed, you may find it difficult if not impossible to jump the first gap. Try using the horn that sticks out from the side of the cliff if you need to jump.
- It pays to have handcrafted Spring-Loaded Gnomish Stilts with you for crossing the gaps, as it makes the movable planks unnecessary.
- There is a good map for this instance, found here: Gamepressure.com
- The fires can be clicked at a distance to not aggro the near by Gnoll.
Steps[]
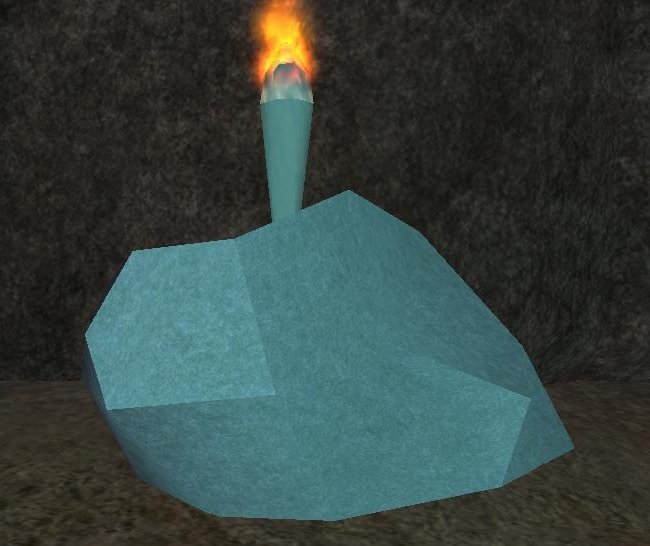
Use the torch recieved from this rock-altar to light the braziers.
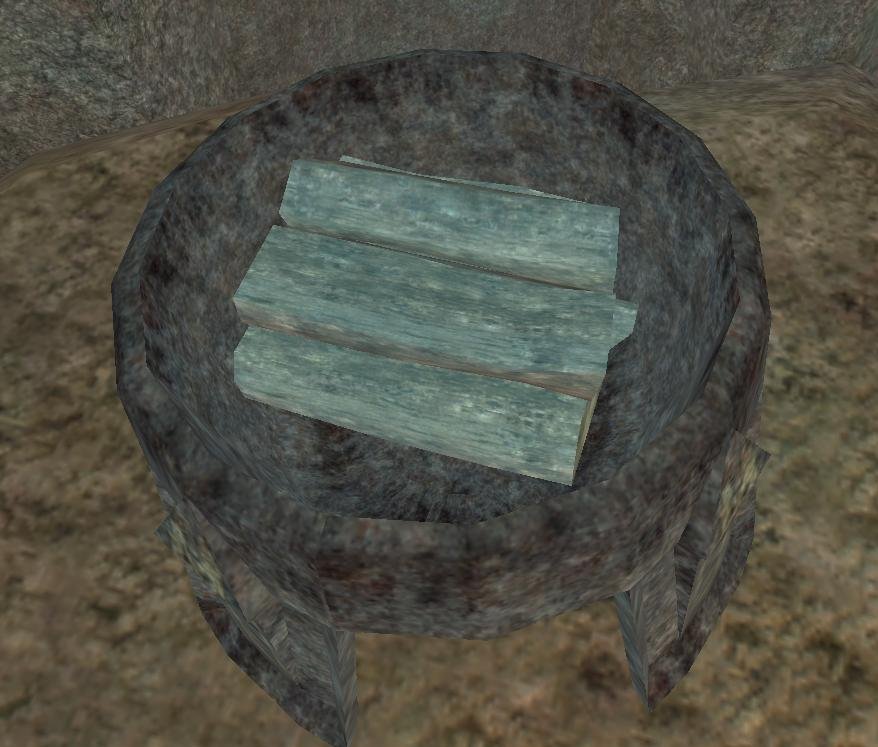
A brazier
- Follow the path at ( -29, -72, -163 ) that leads to the Sundered Splitpaw: Trial of Harclave; zone in and turn immediately to the left. Click the torch in the rock at ( 127, -51, -198 ) to pick up Harclave's Torch. Your first mission within this instance is to light eight braziers.
- Proceed forward until you arrive at an impassable gap. Move the board at ( 123, -71, -155 ) to get across the gap and light two fires on this second ledge at ( 106, -70, -166 ) and ( 91, -69, -168 ) . You will need to target the wood fuel inside the brazier.
- Go down the ramp from ( 94, -71, -180 ) . There are two fires in this chamber at ( 106, -78, -210 ) and ( 61, -78, -202 ) .
- Go up the far left tunnel from ( 93, -76, -265 ) to reach a ritual chamber. There are two fires on the ground in this chamber at ( 41, -66, -278 ) and ( 75, -66, -286 ) .
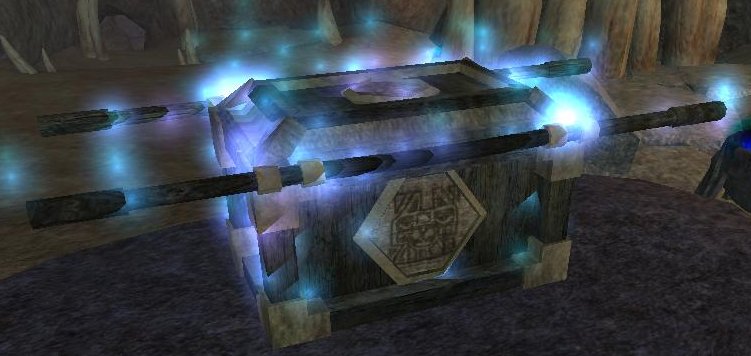
- Get the four boxes in this room, plus 2 boxes in the previous room, and stack them all to form a staircase and climb up to the Ark of Harclave, situated on the ledge in the back. Light the last two fires next to the ark at ( 50, -60, -316 ) and ( 60, -60, -317 ) .


Ark of Harclave
- Examine the Ark of Harclave at ( 55, -59, -316 ) and you will be granted The Spirit of Harclave, a very strong buff that greatly increases your max health, max power, in-combat regen, and applies a damage shield akin to Brambles. It also decreases your experience gain by 90%. This will also spawn a group of six eternal Tesch Vals around the Ark.
- The buff will not zone with you when you leave the zone. It remains on if you die or evac inside the zone.
- Next you need to kill a Zygomyd Spore King, at ( -2, -65, -182 ) . Back near the first two fires you will find another wood board at ( 84, -70, -176 ) . Use it to build a bridge and cross over the chasm. Do NOT use both boards in the zone, because if you die and revive you will be stuck at the beginning without the first board bridge. It's worth noting that there are multiple heroic encounters in this area. If solo, it pays to pull carefully, even with The Spirit of Harclave buff. If you can, pull way back, there are multiple wandering yellow groups. Low DPS classes can use invis totems or ability with good results.
- If you fall down into the chasm while attempting to cross it, interact with the gear-like elevators located in the southwest. They take you back to the beginning.
- Lastly, Rosch Val Gornas must be defeated, at ( -100, -63, -94 ) . You will have to build a staircase of crates to reach his ledge. The crates can only be placed a couple times, as they weaken with each move, so build carefully. Once he is dead, click on the throne to complete the quest and be ported back out to Splitpaw Den.
Rewards[]
- Experience
- Counts toward earning Splitpaw Gnoll trust.